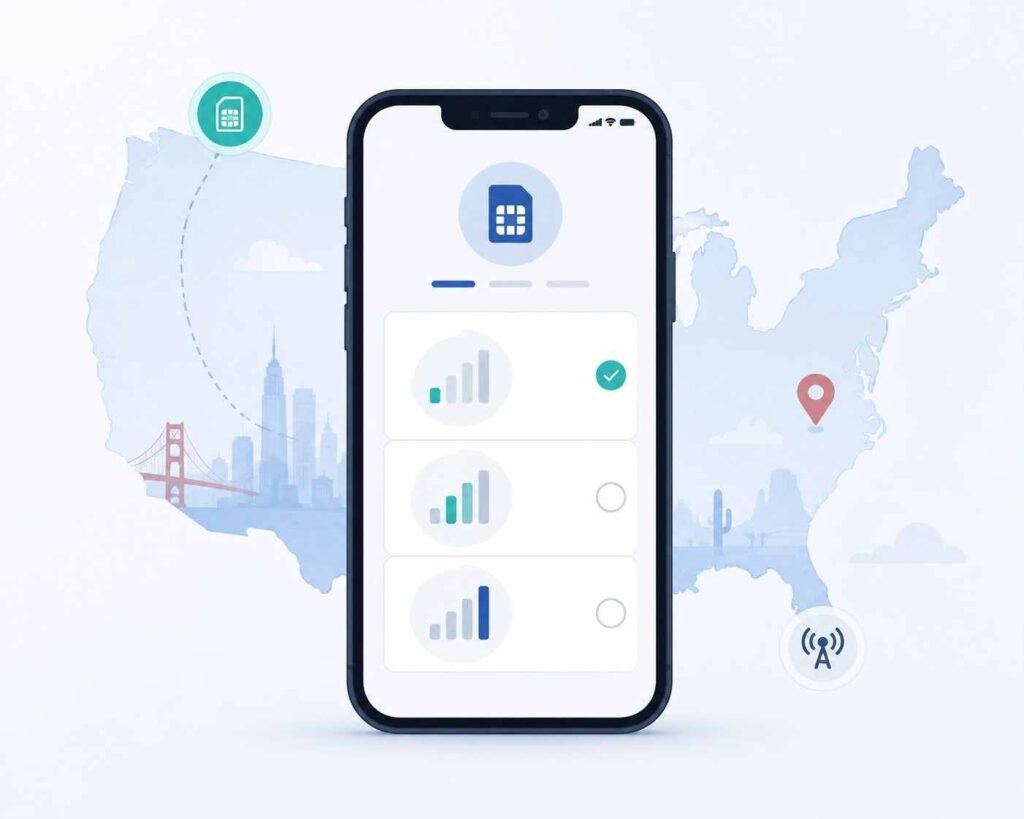
Activating a USA eSIM is usually quick, but doing it in the right order — and on the right connection — avoids most of the common hiccups. Here’s the process from start to finish.
Before You Start
Connect to stable Wi-Fi. Your carrier profile downloads live from a secure server during activation, so a weak or interrupted connection is the single most common cause of failed activation. Avoid public Wi-Fi with a login wall that might interrupt the download partway through.
Confirm your device supports eSIM. Check Settings for an “Add eSIM” option before starting — if it’s not there, activation won’t proceed regardless of connection quality.
Step 1: Locate Your QR Code
After purchasing a plan (from providers like eSIMFire, GearSMS, or CodeBypass), you’ll typically receive a QR code by email or through the provider’s app or dashboard. (Disclosure: eSIMOTP is operated by the same team as these three services.)
Step 2: Open Your Phone’s Cellular Settings
On iPhone: Settings → Cellular → Add eSIM (or “Add Cellular Plan”)
On Android: Settings → Network & Internet → SIMs → Add eSIM (exact wording varies by manufacturer)
Step 3: Scan the QR Code
Use your phone’s camera through the in-settings scanner (not a separate camera app) to scan the code. Your device will read the embedded server address and activation token automatically.
Step 4: Wait for the Profile to Download and Install
This typically takes one to a few minutes on a stable connection. Avoid closing the settings app or switching networks mid-download.
Step 5: Label and Configure Your New Line
Once installed, your phone will usually prompt you to label the new eSIM line (e.g., “Travel Data”) and choose which line handles data, calls, and texts by default. For a data-only USA eSIM, you’ll typically want your existing line to remain the default for calls/texts, with the new eSIM set for data only, or used specifically when traveling.
Step 6: Confirm It’s Working
Turn on the new eSIM’s data line and check for a signal indicator or successful data connection (try loading a webpage) to confirm activation completed successfully.
If Activation Fails
- Double-check your Wi-Fi connection and try again on a different network if possible
- Confirm the QR code hasn’t already been used — most are single-use, so a failed first attempt sometimes requires a fresh code from your provider
- Restart your device if the process seems stuck, then retry
- Try manual entry (SM-DP+ address and activation code) if your provider offers this as an alternative to scanning
Frequently Asked Questions
Do I need Wi-Fi to activate a USA eSIM, or can I use mobile data?
Either can work, but Wi-Fi is generally more reliable, especially if you’re unsure about your current mobile data connection’s stability.
Can I activate my USA eSIM before I travel?
Yes, though check your specific plan’s terms — some plans start their validity period at activation, so activating too early could use up days before you actually need the data.
What if my QR code doesn’t scan?
Try the manual entry option if your provider offers one, or request a fresh code if you suspect the original has already been used or expired.
Will activating a USA eSIM affect my home phone number?
No, on most eSIM-compatible devices the new eSIM runs alongside your existing line, so your home number, calls, and apps remain unaffected.
How long does the whole activation process take?
Usually just a few minutes on a stable connection, from scanning the code to a working data connection.